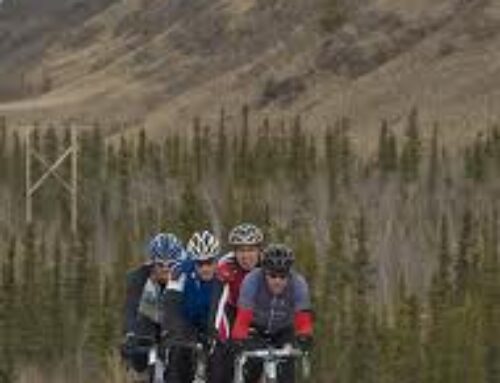
If you’re looking for a fun and cheap, earth-friendly vacation, nothing beats bike camping! Whether you’re heading off for a weekend in the wilderness or a night at a local campground, here’s a primer on how to pack your Maya Cycle bike trailer and plot the perfect bike camping adventure.
Iron out the details beforehand

First figure out what distance you and your biking companions can feasibly pedal. Be sure to account for the excess weight, the terrain and factor in the time it will take to bike to the location and set up your tent before dark. Also check the forecast and bring rain gear, just-in-case. Before you leave, give your bike a quick tune-up.
Plan your bike route carefully
Google Maps provides bike routes, but be sure to double-check their data, as the program has been known to lead cyclists into busy intersections or unsafe roads. Travel with a map or GPS so you can change your route on the fly. Once you solidify an itinerary, leave a copy of your route and itinerary with someone at home.

Reserve your spot
No one wants to spend a hard day on the bike only to find that there’s no space at your desired campground. Reserve early and be sure to bring extra money for any site fees or if you plan to use the facility’s showers.
Bike camping checklist
- Bike (a touring bike is best, but whatever you choose, be sure it’s comfortable for the long haul)
- Maya Cycle bike trailer and/or racks and panniers
- Basic bike repair tools (multi-tool, pump, spare tubes, chain tool, duct tape and a patch kit)
- Front and rear lights
- Rain gear and warm clothes
- Bike gloves, helmet and shoes
- A tent or a bike specific tent (check out Topeak’s Bikamper)
- First aid kit and basic toiletries, towel
- Lighter and a flashlight
- Bike clothes and extra socks
- Sleeping bag
- Food, water and/or a water filter and a small stove if you intend to cook
- Small pillow and sleeping pad
- Credit or debit card and extra cash